Rear Derailleur Adjustment
The article will discuss adjustment of rear derailleur limit screws and indexing.
Preliminary info
- Repair stand
- Screwdriver, Phillips #2 or straight blade
- Hex Wrenches
- Fourth Hand Tool BT-2
- Cable cutter, if trimming cable CN-10
- Light lubricant such as CL-1.2
- Rags
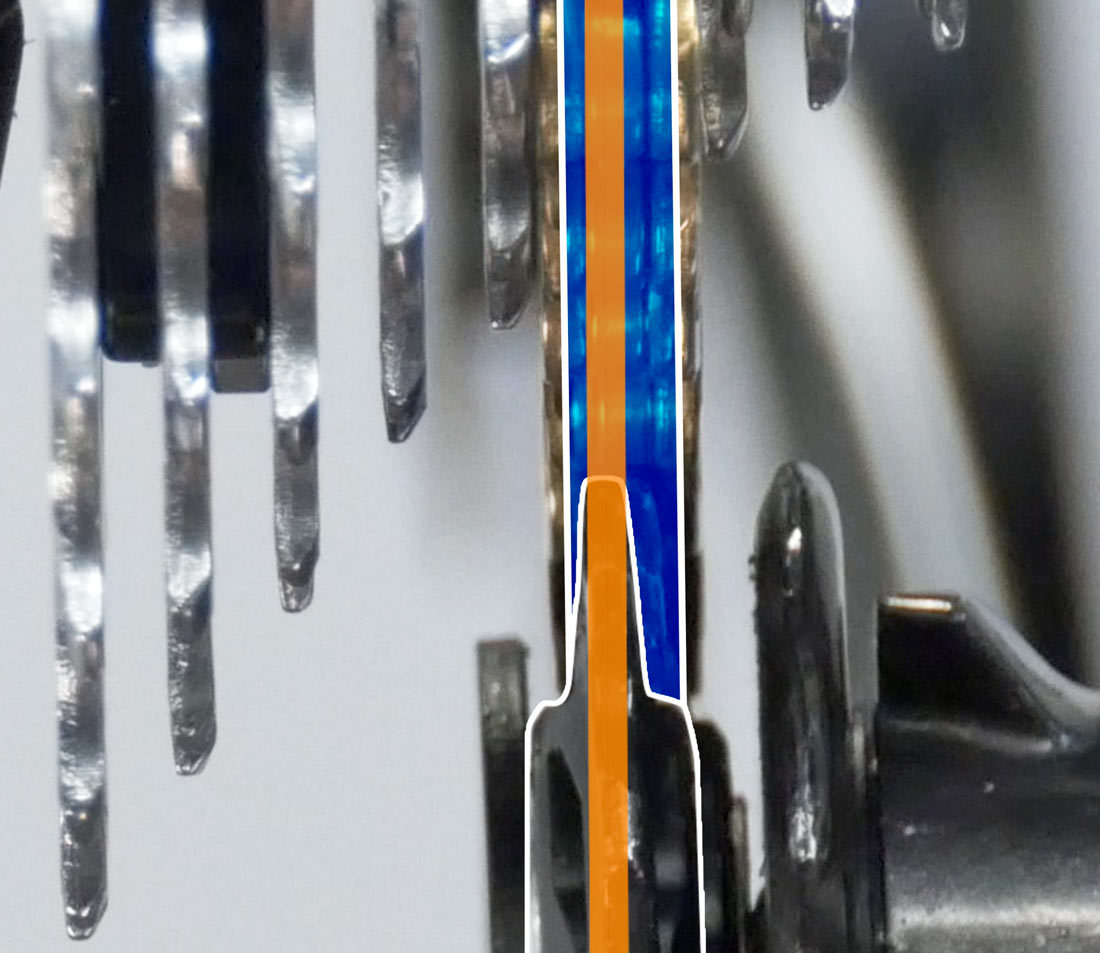
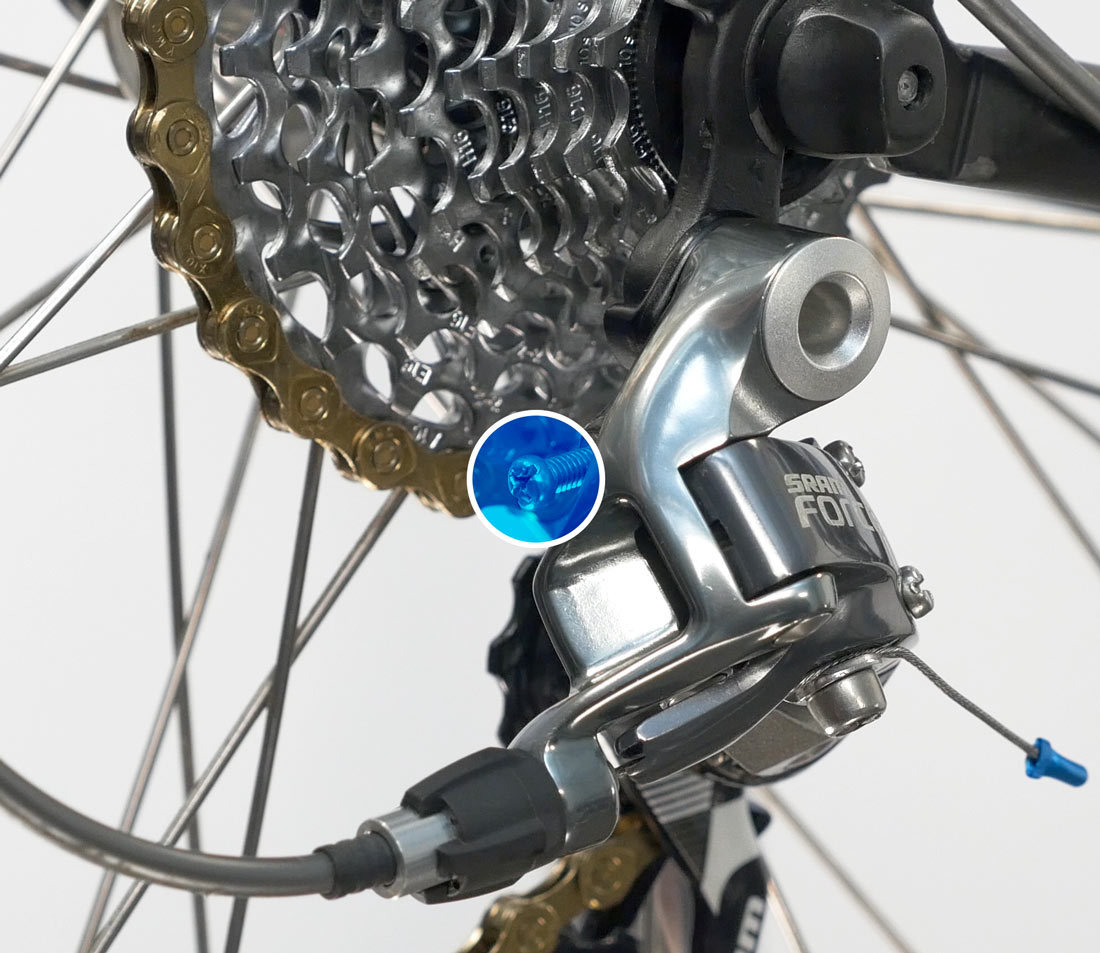
Derailleurs are fitted with limit screws that stop the derailleur from moving too far inward or too far outward. If you look closely as the derailleur moves, you can see the limit screws stopping the derailleur at each end of it’s travel. The main purpose for the limit screw is to prevent the chain from going into the spokes or into the frame. Tightening the H-limit screw restricts the limit as shown. The goal is to dial it in as close as possible to the inward cog, as shown in the previous photo.
Limit screw stops derailleur and end of travel
H-limit screw restricts limit
Many people think their H-limit screw is set appropriately, but it turns out the cable pull is stopping the derailleur, not the limit screw. There is a spring constantly pulling the derailleur outward and the cable is constantly pulling against that spring, being pulled in small increments by the shifter in order to make the shift. These shift increments correlate to the cogs, and when you shift out to the smallest cog it appears as though everything is lined up as it should be. In this instance, it actually the cable that is holding the derailleur in place and the limit screw may be set incorrectly. You won’t know until you take the cable out of the equation. This is done with the derailleur barrel adjuster. We’ll address this later in the article, but for now, be aware of this issue.
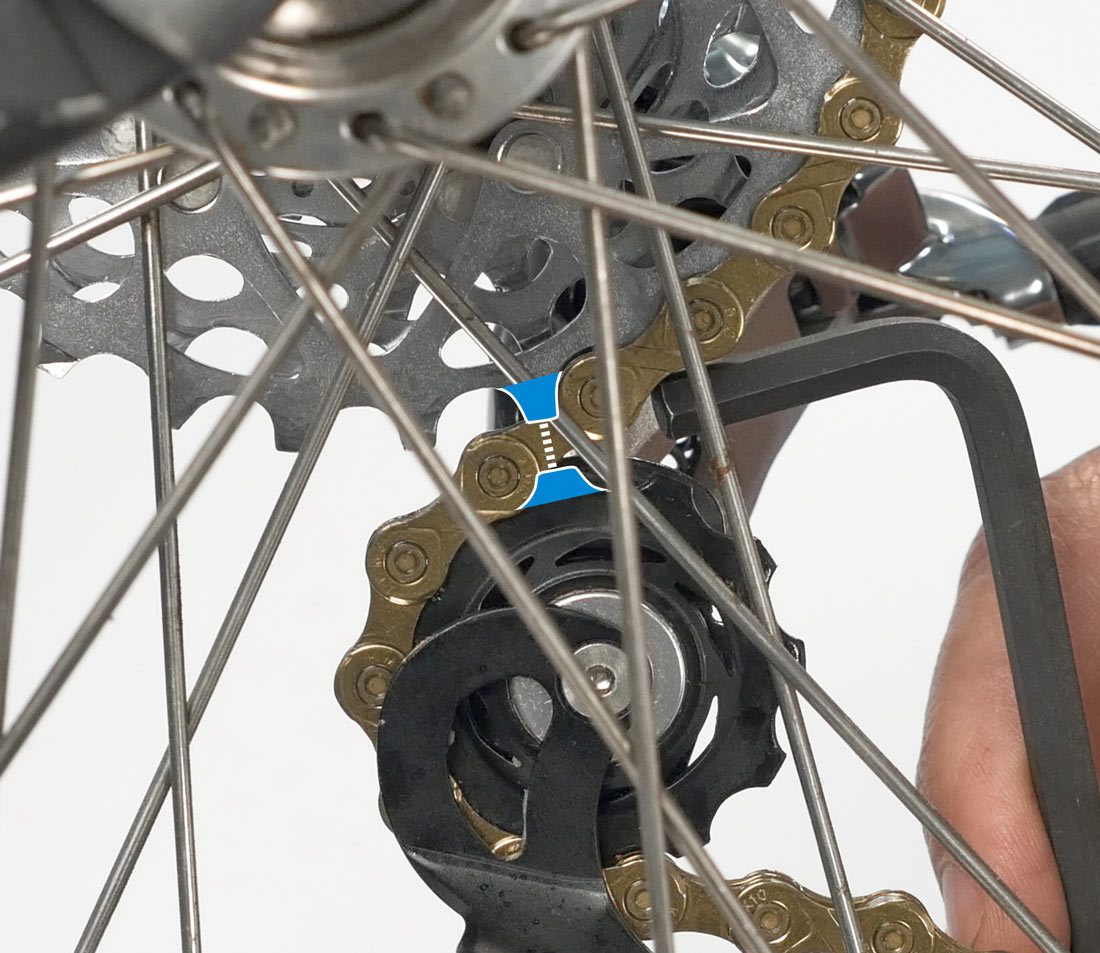
Begin with a visual check of the derailleur hanger. If it’s clearly bent, your adjustments are not going to work. Refer to our video on hanger alignment to fix this issue. If the bike has multiple front chainrings, shift the front derailleur to the largest chainring, then shift the rear derailleur to the smallest cog. Even if you are already in the smallest cog, keep clicking your rear shifter to make sure there are no clicks left in the mechanism. This makes sure that the rear shifter is fully actuated outward.
If the chain does not shift to the smallest cog, it is likely being stopped either by the limit screw, or cable setting. First turn the H-limit screw count-clockwise a few turns. Pedal and see if it makes the shift outward. If it still does not shift outward, turn the barrel adjuster on the derailleur body clockwise a few rotations. Pedal to see if it shifts. Your chain should now be on the smallest cog and there should be no more clicks left in the shifter mechanism. Turn the barrel adjuster clockwise another two turns, or until it is screwed in all the way, whichever comes first. The reason we do this comes from the earlier point regarding shifting position and proper limit screw settings. This will move the shifting positions beyond the limit screw setting so we will get an accurate assessment of current limit screw settings. We are now ready to dial in the H-limit screw.
H-Limit Screw Adjustment
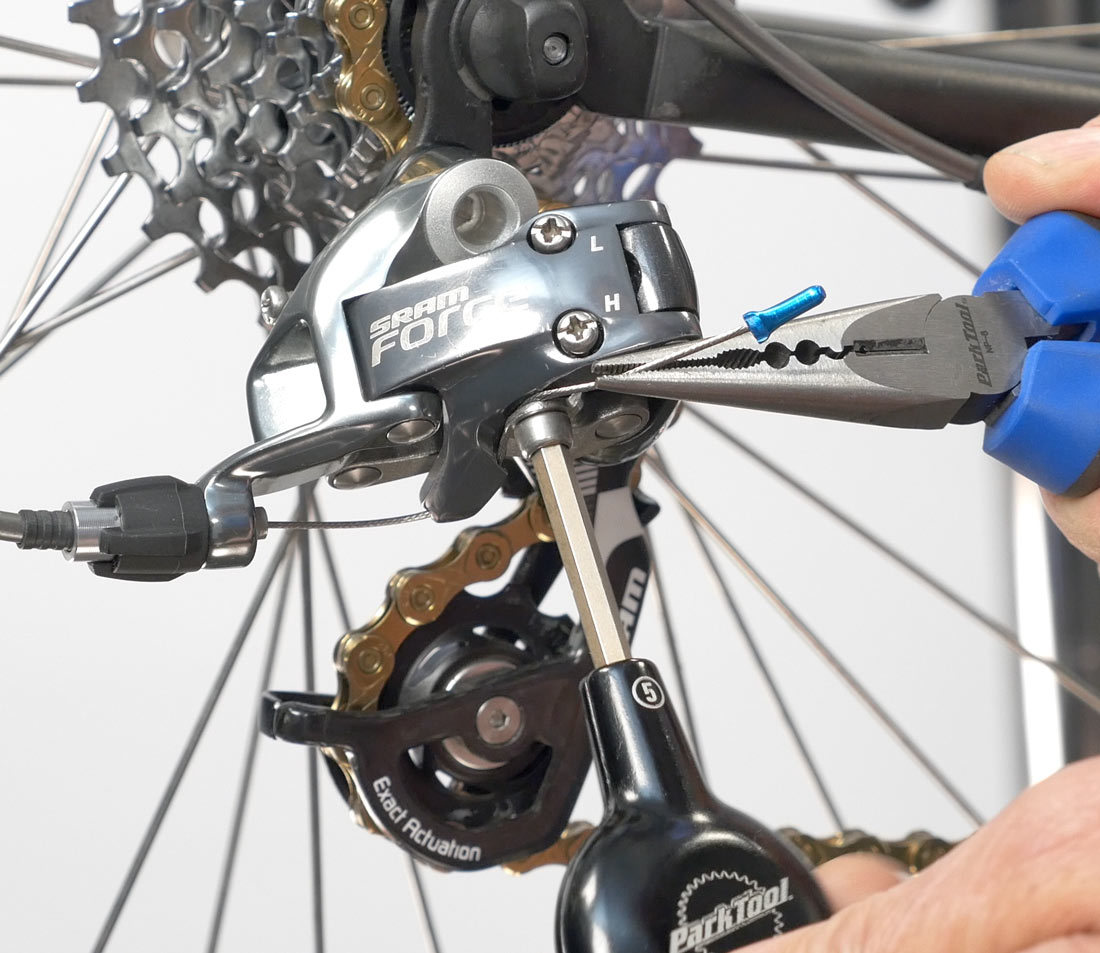
If the limit screws are unmarked, pick one and turn it in and out while watching the derailleur. If the derailleur does not move, try the other limit screw. The H-limit screw will cause the derailleur to move. Find the correct setting by first making the H-limit screw adjustment too tight. Now back out the H limit screw until it sits directly below the smallest cog. Take your screwdriver and tighten the H-limit screw one half turn. Listen for excessive noise while pedaling. If there isn’t any excessive noise coming from the drivetrain, tighten the screw until you hear the chain rubbing on the next cog. Once you hear the excessive noise, begin to back out the H-limit screw one quarter turn at a time until the noise stops. If there are two settings that seem equally quiet, go with the tighter of the two settings. The H-limit is now set.
First, set H-limit too tight

Next, loosen until chain is directly below smallest cog
Now turn the barrel adjuster counter-clockwise a couple of turns. The idea is to bring it back to roughly where it was before. Don’t worry if it isn’t completely precise just yet. As far as the L-limit screw, we will wait to adjust that until after we have adjusted the derailleur indexing and cable tension.
Indexing Adjustment
The process of indexing is to line up the guide pulley with the cogs so that each incremental shift lines up with each cog. The barrel adjuster allows us to make these adjustments. A quick note is that there is a range of acceptable adjustment, meaning that there may be more than one barrel adjuster position that results in good shifting performance.
The barrel adjuster moves the indexed positions relative to the cogs
There may be a range of positions that offer good shifting performance
If there are two front chainrings, stay on the largest chainring. If your bike uses three front chainrings, shift to the middle. On the rear, start on the smallest cog. Pedaling at a normal riding cadence, shift the shifter only one indexed click, not more than one click. We want this one click to shift one, and only one gear. If the chain did not make it to the next gear, return the shift lever to the outermost click, and turn the barrel adjuster one full turn counter-clockwise. Try the shift again and repeat the process until it makes the shift. If you have un-threaded the barrel adjuster that it has come out, or has nearly come out, thread the barrel back in fully and then out one or two turns. Make sure that you are on the furthest outward shift position and the smallest cog, then remove the slack from the cable at the pinch bolt.
If you shift the shifter one click and the derailleur moves two sprockets, shift back to the first cog, turn the barrel adjuster clockwise one turn and try the shift again. Now that our chain is on the second sprocket after one click of the shifter, the shifting can be fine-tuned.
Turn the barrel adjuster until it is clearly out of the acceptable range of the first shift. You will hear noise when pedaling. Make sure that the source of the noise is coming from the chain beginning to strike the next inboard cog, then slowly turn the barrel adjuster clockwise until the noise goes away. While this is an adequate setting for this cog, you must now check each subsequent cog in the cassette one at a time. Shift and listen at each position for any excessive noise in the drivetrain. If you hear noise in any cog, turn the barrel adjuster clockwise one quarter turn. Test the shift to that cog again, and listen for any excessive noise. Repeat and continue to check until you find the barrel adjustment that allows good shifting in every rear cog, with the exception of the largest cog. The shift to the largest cog will be done later.
Now, shift outward in every cog, checking for excessive noise and good shifting performance. If any of these shifts are slow coming outward, that can be improved by another quarter turn clockwise at the barrel adjuster. Our indexing is now properly set and it’s time to move the L-limit screw adjustment.
L-Limit Screw Adjustment
Similar to the H screw setting, make the L screw too tight and back it out slightly until it is just right. This will provide the most protection from the derailleur shifting the chain beyond the largest cog and into the spokes. Shift the chain to the next to largest chainring in front. Shift to the second largest cog in the rear. Now, try shifting to the largest cog in order to determine where the L-limit screw is currently set. If the chain does not make the shift, than the L screw is already too tight, and that’s where we want it for now. If the chain shifts slowly to the largest cog, that is also a symptom of a too tight L screw. If there is excessive noise when the chain is on the largest cog, again, the L screw is too tight. If it makes an acceptable shift with no excessive noise, the L screw is not too tight. Shift the derailleur one click outward and tighten the L screw one turn clockwise and check the shift again. Repeat this process until there are symptoms of a too tight L screw. Once the too tight L screw is causing symptoms, turn the L screw out one quarter turn until and check the shift to the largest cog until the symptoms of excessive noise and slow shifting go away. The L-limit is now set.
As a check, put extra pressure on the shifter and watch at the rear derailleur. The cage should not move inward.
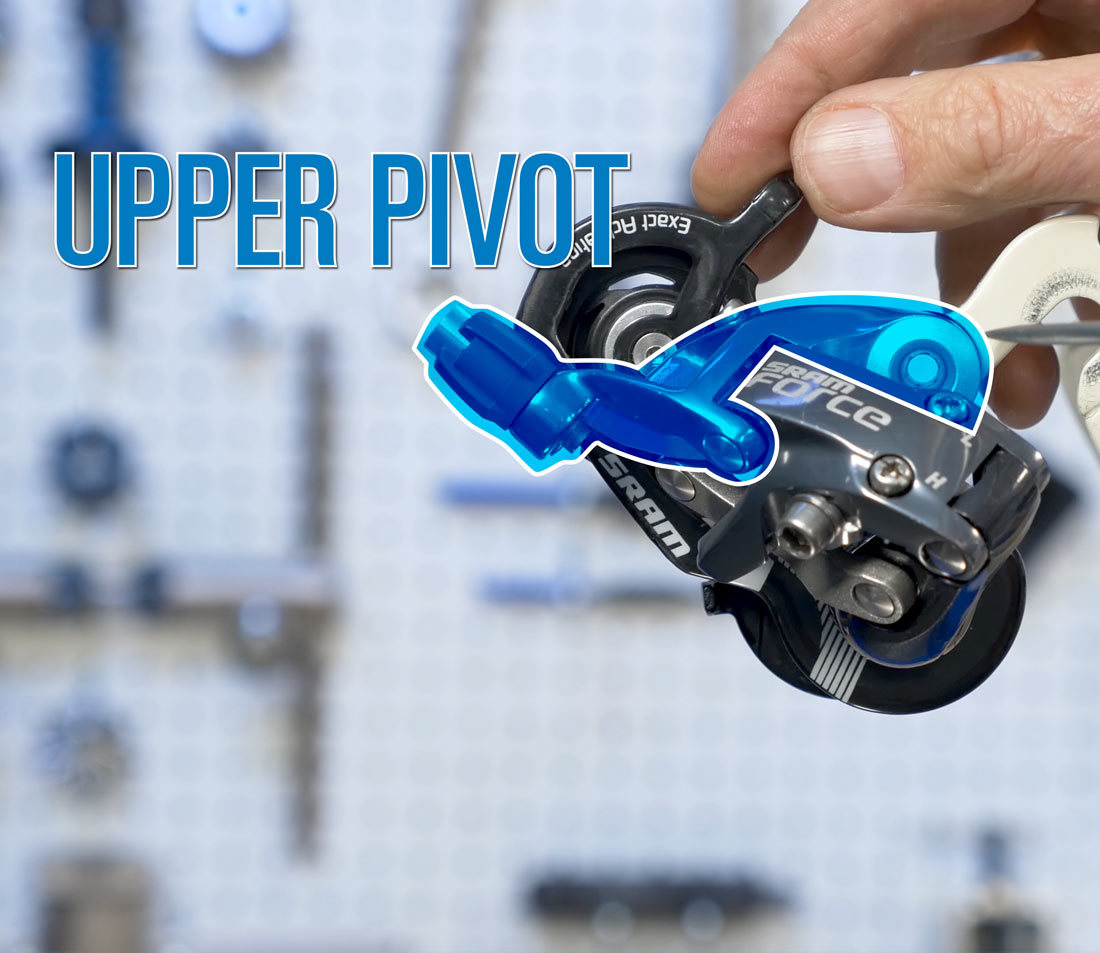
B-Screw
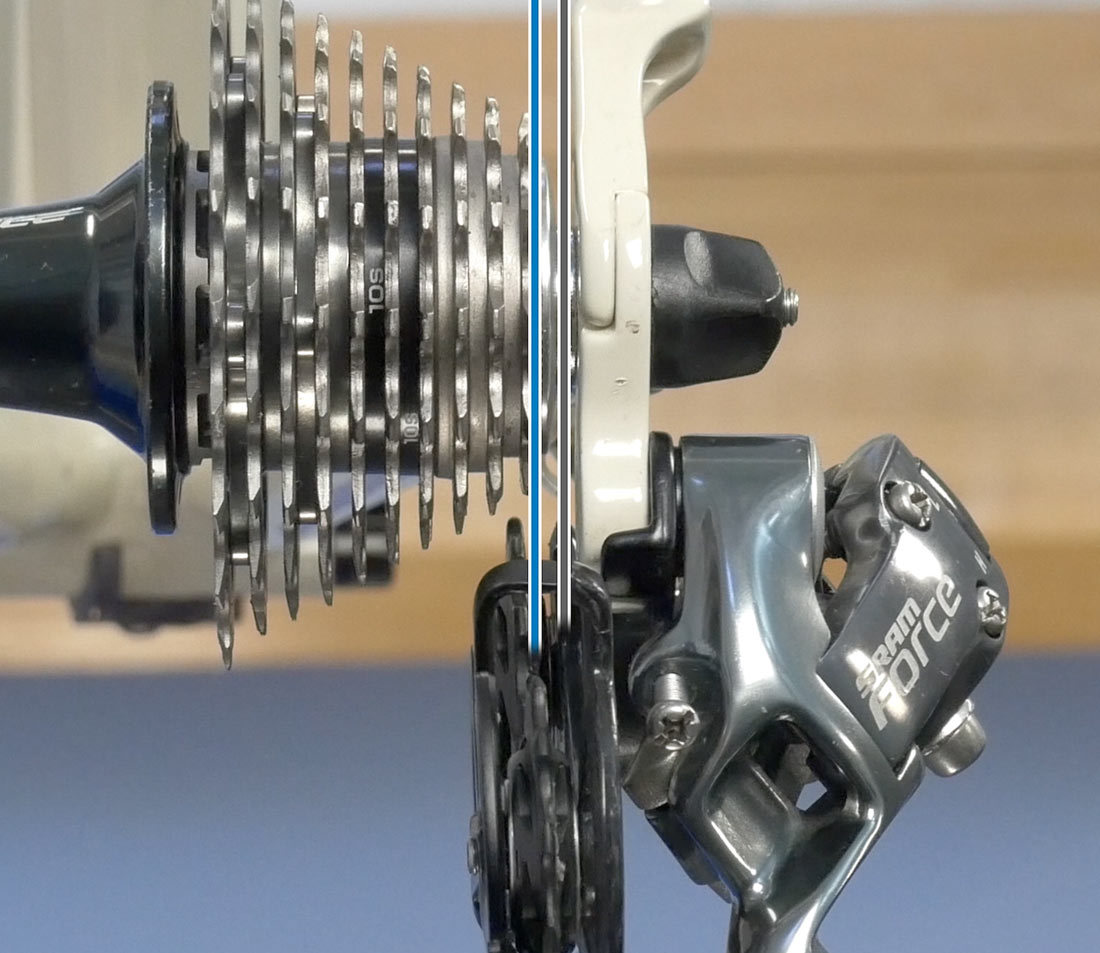
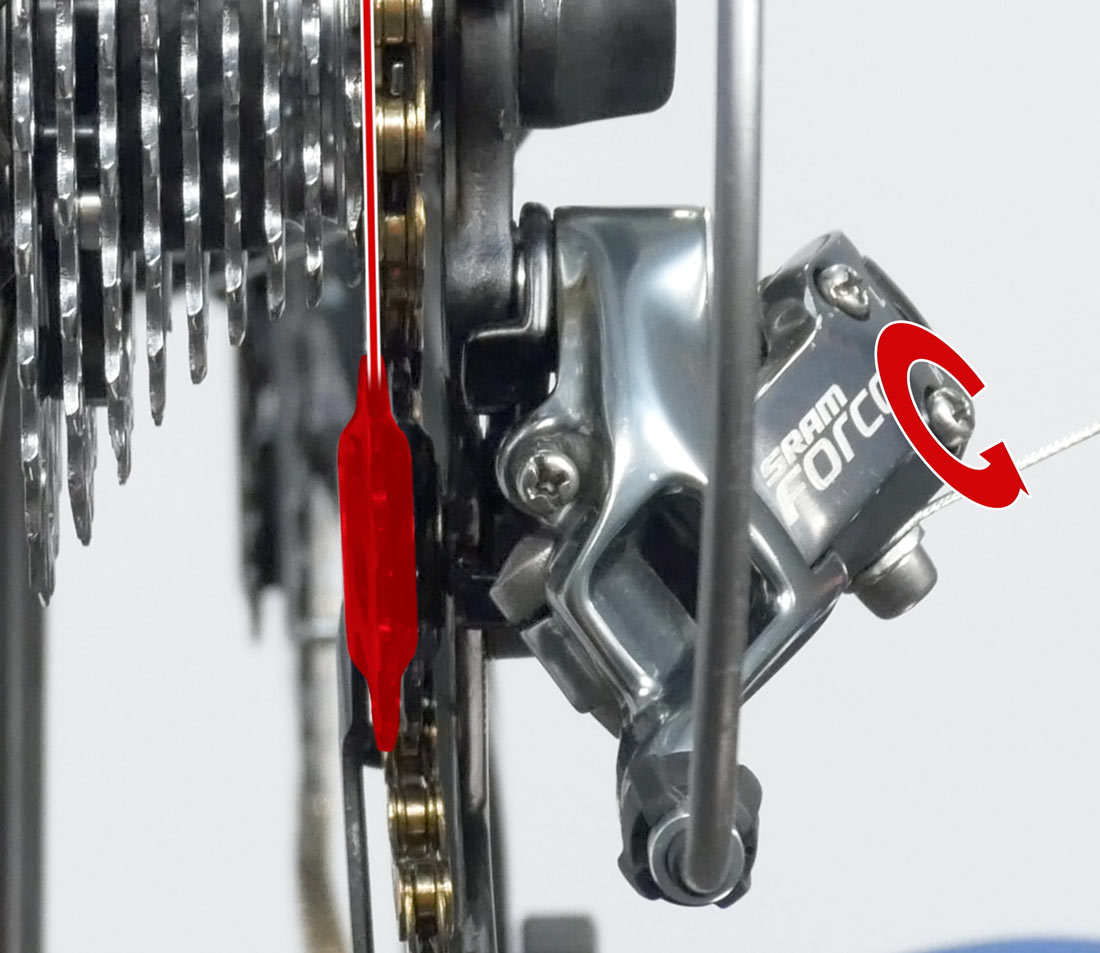
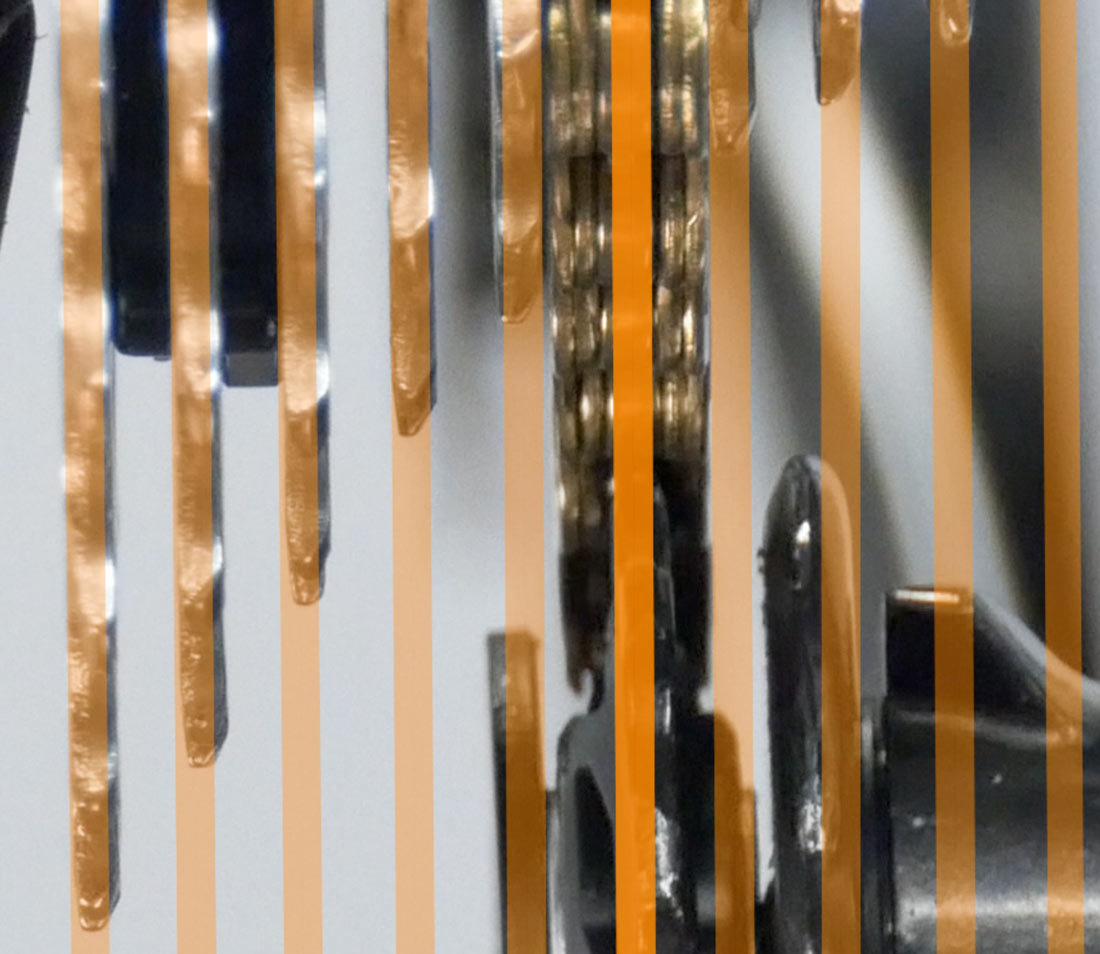
Most derailleurs have some form of adjustment for the spacing of the guide pulley to the cogs. This spacing is controlled by the B screw, or body-angle screw.
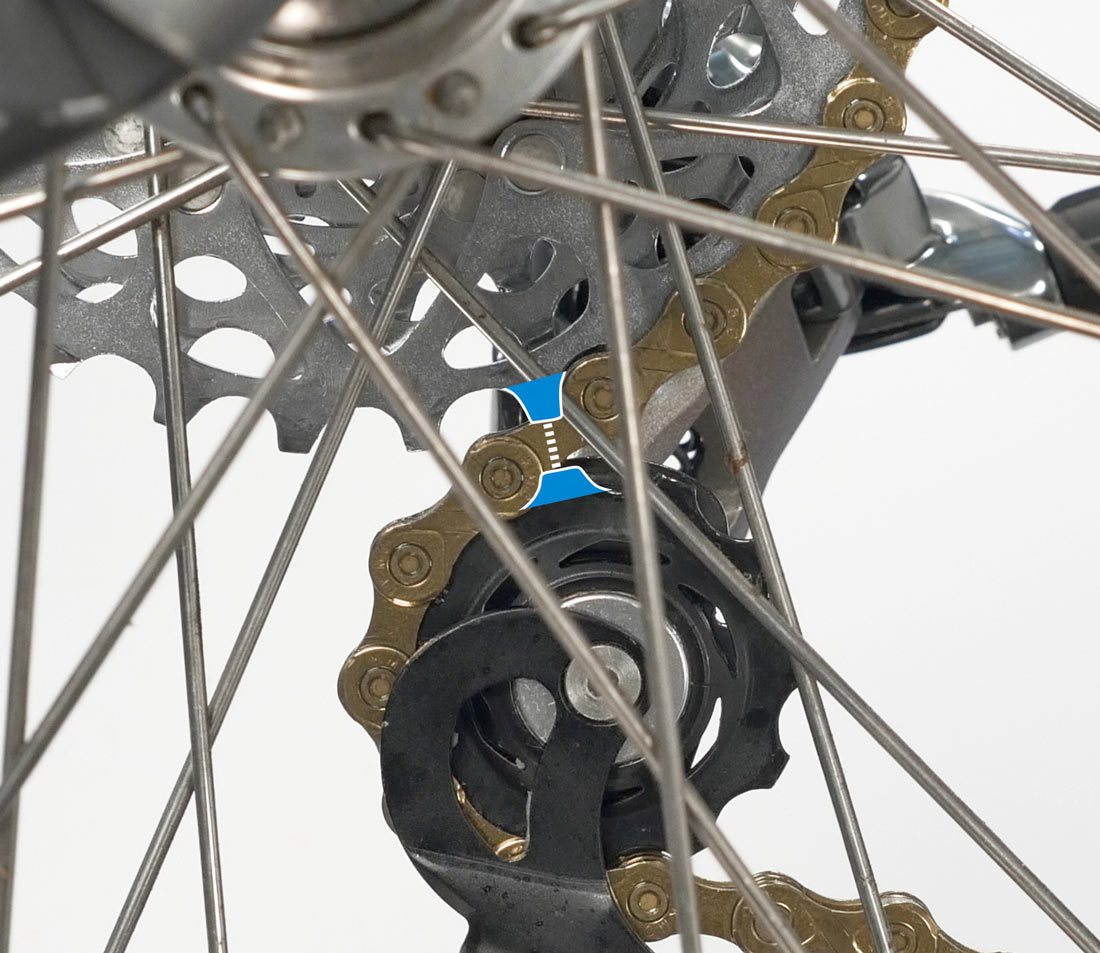
Spacing between derailleur pulleys and cogs
B-screw location
This adjustment is checked when the chain is on the smallest sprocket up front, and the largest cog in back. The majority of road and mountain bike derailleurs require a gap between 5 and 6 millimeters. You can use a hex wrench to gauge this distance. Don’t get too hung up on this particular adjustment. If the bike is shifting well, the B screw is probably within acceptable adjustment range. To increase the gap, tighten the B screw. To decrease the gap, loosen the B screw. If you do make significant changes to the B screw, double check the indexing adjustment. Otherwise you are done, and your derailleur is properly adjusted.
Related articles
How A Rear Derailleur Works View Article
Rear Derailleur Hanger Alignment View Article
Front Derailleur Adjustment View Article
Rear Derailleur Overhaul View Article