Bottom Bracket Removal & Installation: Press Fit
The bottom bracket is the interface between the frame and the cranks. With use, the bearing will require service and replacement. This article will review how to remove and install press fit bottom brackets, including: PF41 (BB86, BB92), PF42 (BB30, OSBB), PF46 (PF30), and Trek® BB90 & BB95.
Preliminary Info
- HMR-4 21oz Shop Hammer
- Tool for bottom bracket removal:
- Tool for bottom bracket installation:
- Surface prep:
The frame shell in a press fit bottom bracket system has no internal threads. The bore is slightly smaller in diameter than the bottom bracket cups that hold the bearings. This creates an interference fit, also known as a press fit. The bottom bracket is then held in by the pressure created by the interference. To see a review of the various standards, see Bottom Bracket Standards and Terminology.
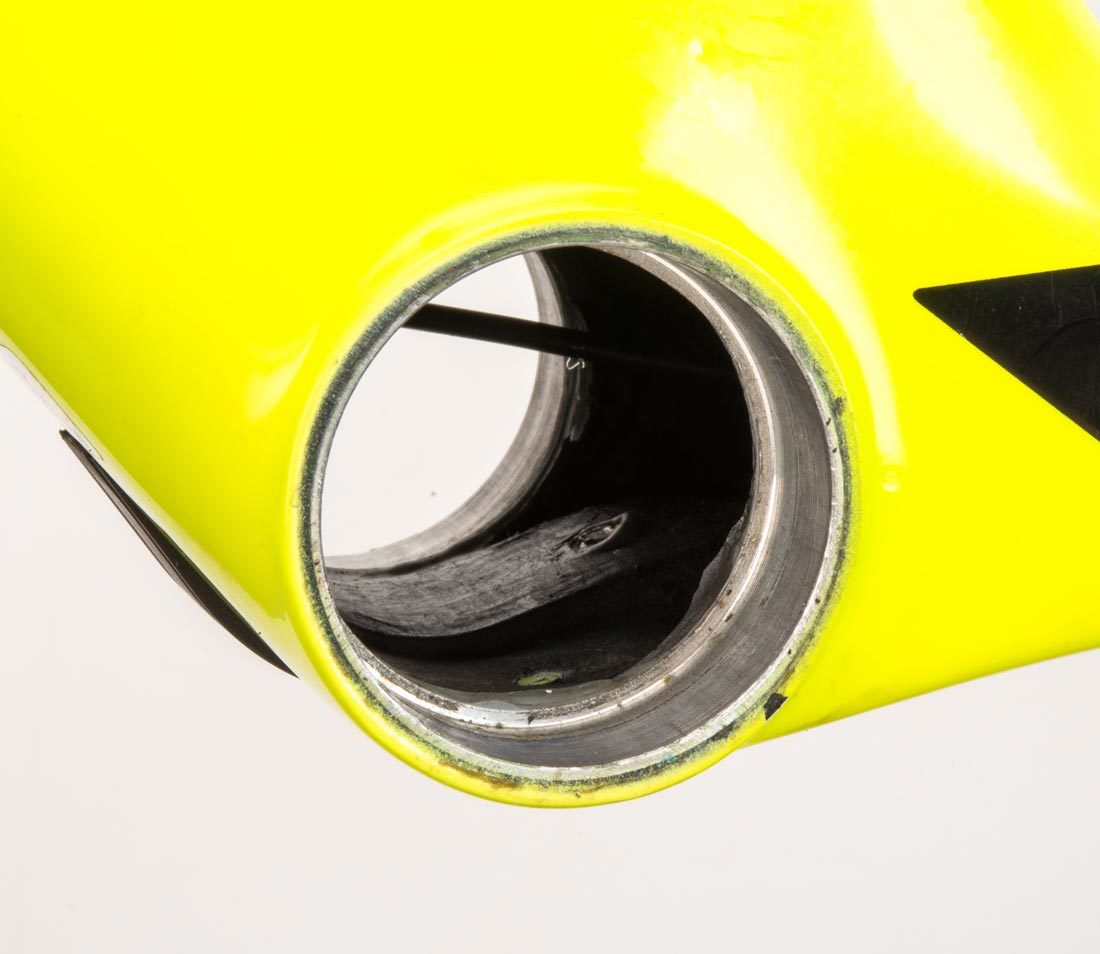
Many press fit bottom brackets are designed so a removal tool must be seated against the bearing. Striking the tool can cause deformations to the cup and the bearing system, which can negatively affect the performance of the bottom bracket system. It is the assumption of the manufacturers that if a pressed bottom bracket is removed, it should be replaced.
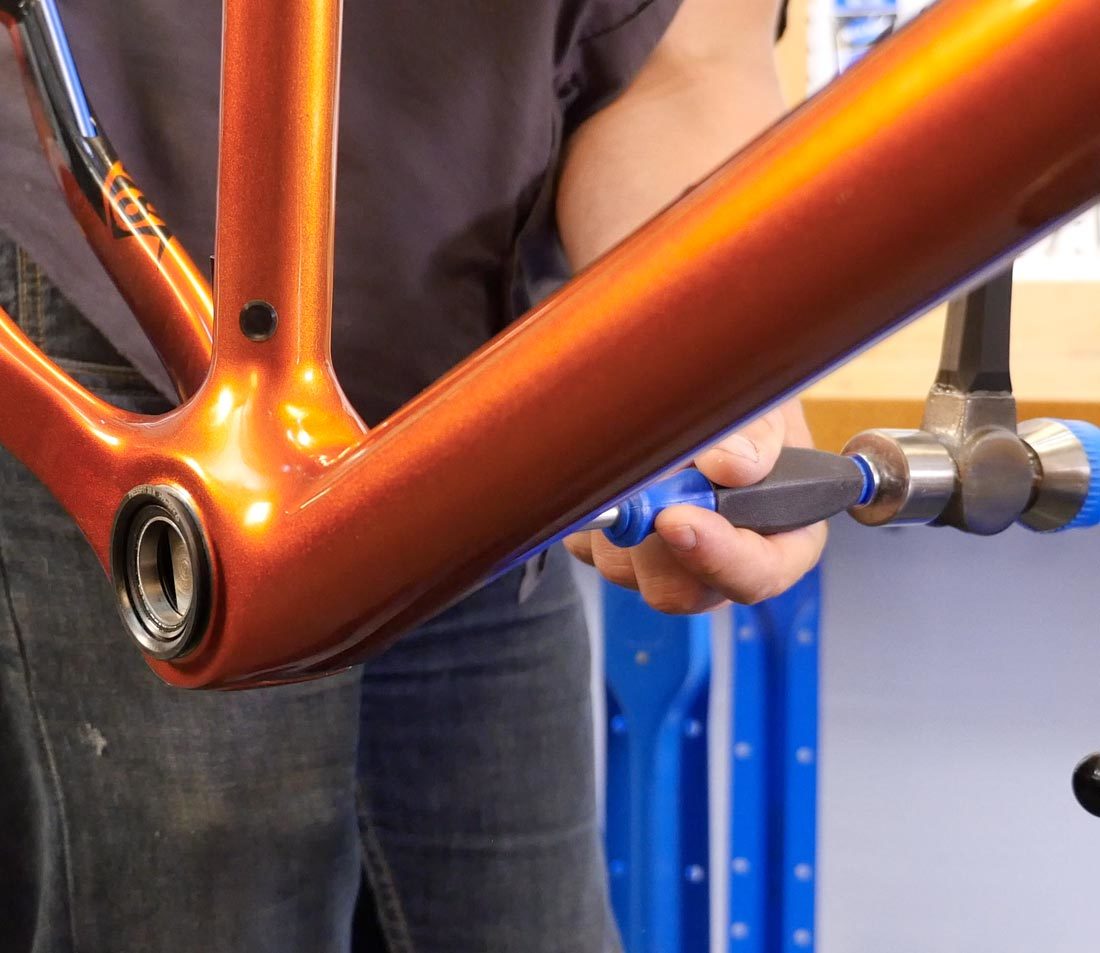
Begin with crank removal. This will help in identifying the tools required.
Select the correct removal tool based on the inside diameter of the bearing, which nominally in the same as the crank spindle diameters. For more on tools required, see Bottom Bracket Tool Selection: Press Fit.
Removal
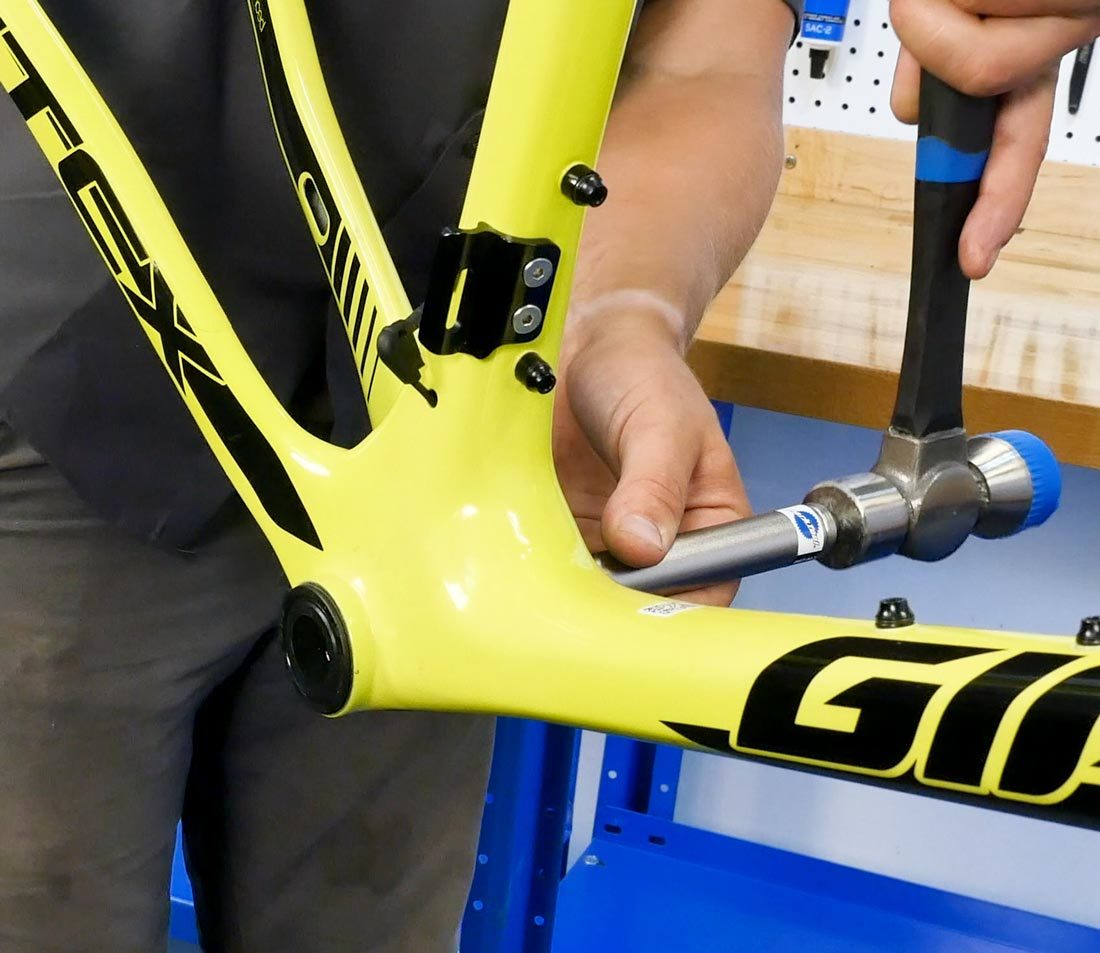
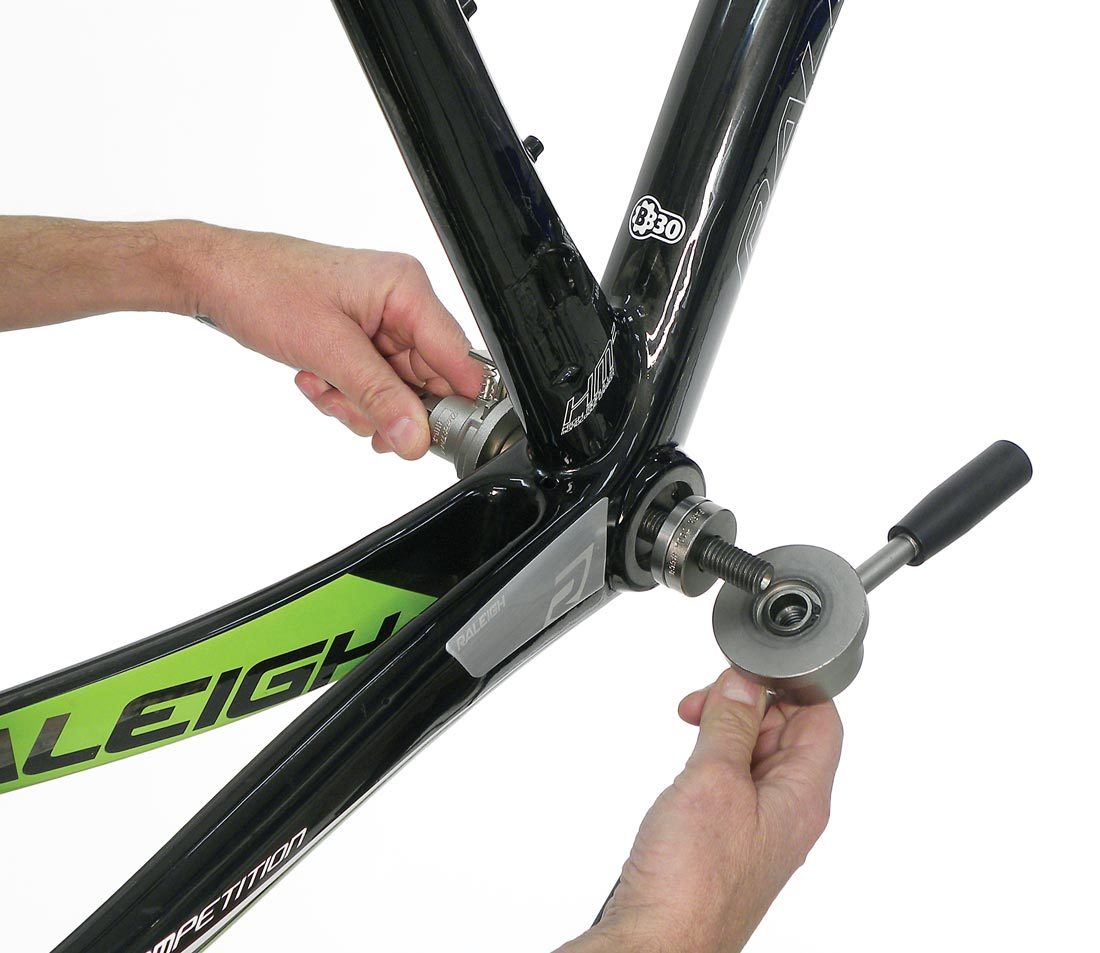
Bottom Brackets with 30mm ID
The Park Tool BBT-30.4 is intended for bottom brackets using bearings with a 30mm inside diameter (30mm diameter spindles).
Install the BBT-30.4 driver through one bearing and push it toward the opposite bearing. Engage the blue sliding guide into the bearing opening to center the driving tool.

Insert end of BBT-30.4 into bottom bracket cup
End of BBT-30.4 seated in bearing
Use a steel hammer to strike the end of the bearing driver to push out the bearing cup. Watch for movement of the opposite side cup as it is unpressed.

Repeat impacting the BBT-30.4 driver until one bearing cup is fully out. Remove the tool from the bike. Reverse the tool in the shell to now push out the other bearing. Slide the blue guide into to the frame shell to center the tool. Strike the end of the driver repeatedly with a steel hammer to remove the last bearing adapter.
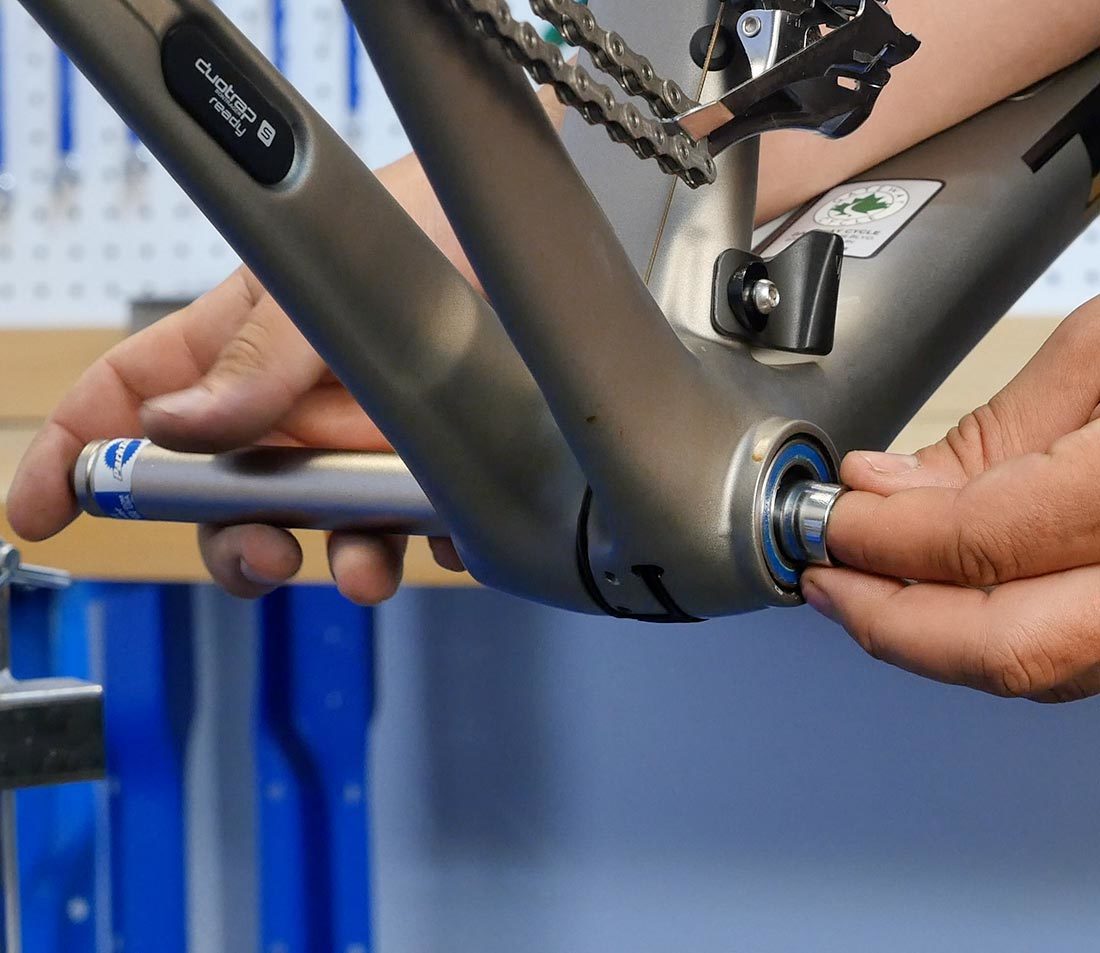
Bottom Brackets with 24mm or 22mm ID
For bottom brackets using bearings with an inside diameter between 22mm to 24mm, use the Park Tool BBT-90.3. Insert the small end of the tool through the bottom bracket. Pull until the expanding end clicks and engages inside the bearing cup.
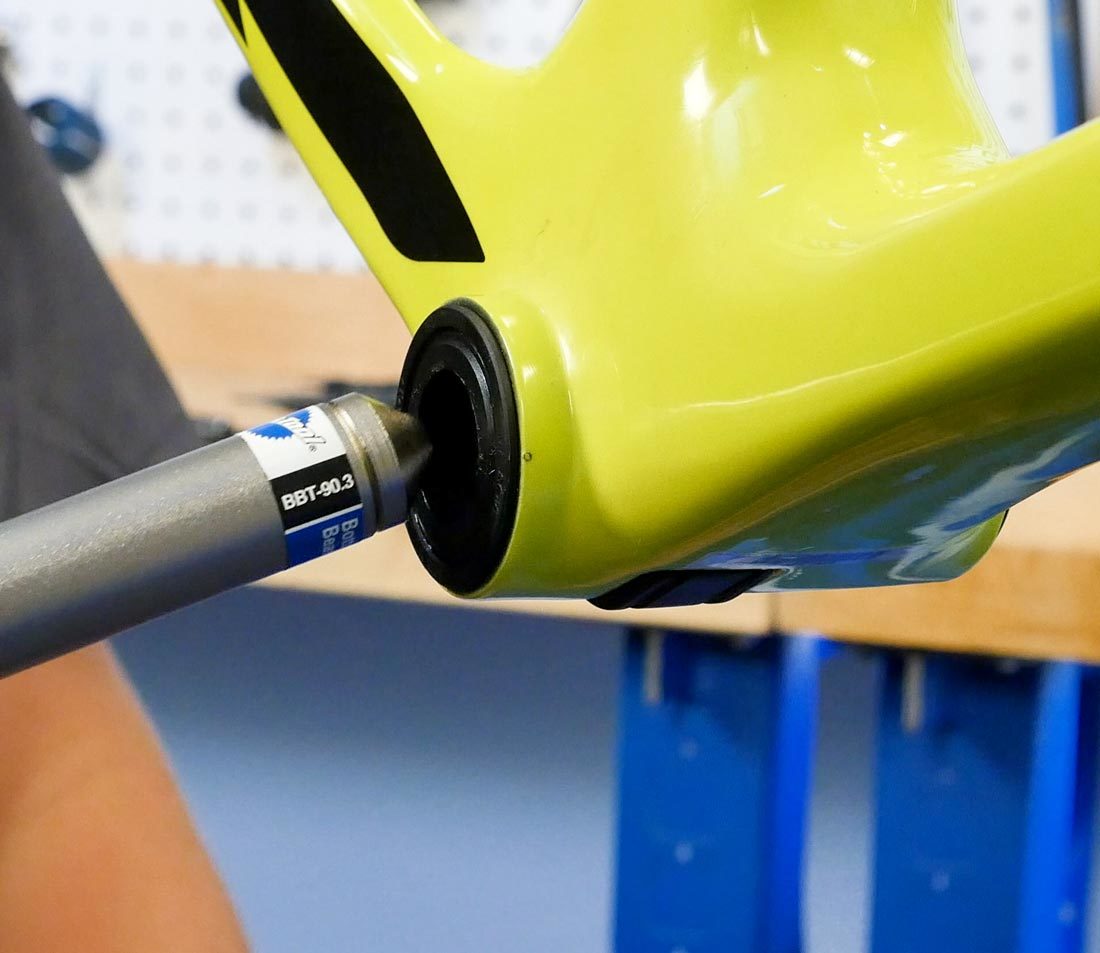
Insert small end of tool
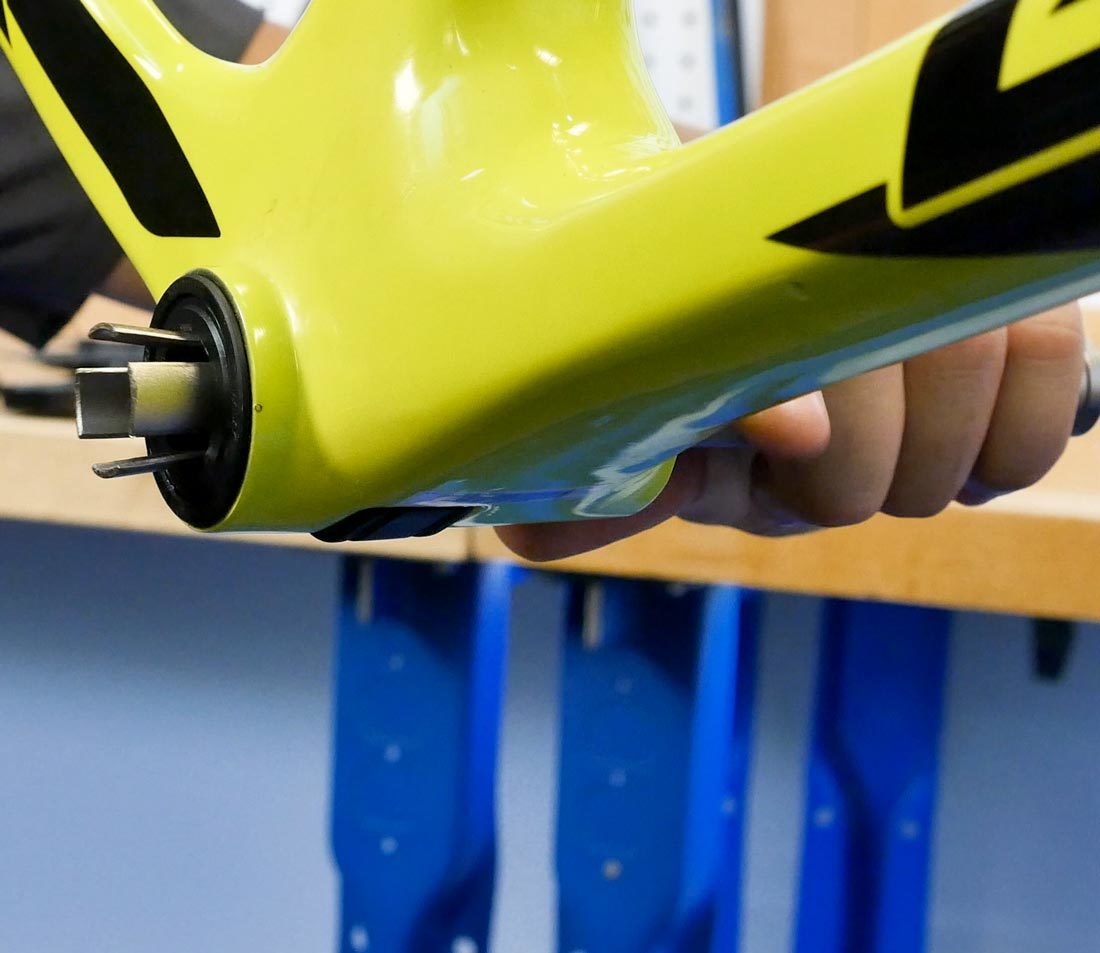
Draw tool into cup
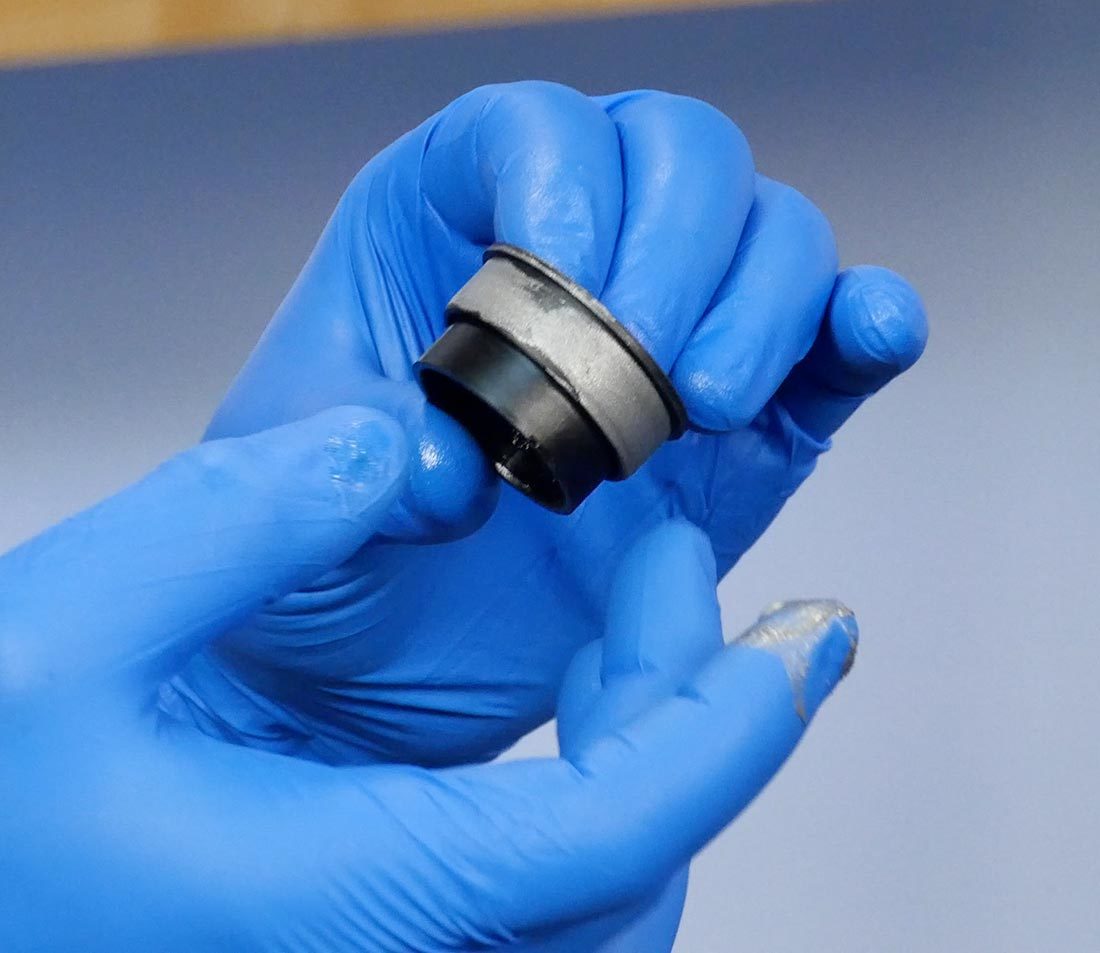
Use a hammer to strike the tool end and drive out the bearing unit. Reverse the remover tool and repeat by driving out remaining bearings. This will possibly leave cosmetic scarring inside the adapter.
NOTE: There are models of press fit bottom brackets with a very narrow inner edge for any tool to catch. In these cases the tool may simply pass through the cup without removal. To keep the tool fingers up tight against the cup, insert a round plug, between 14–17mm outside diameter.
Bottom Brackets with 25–29mm ID
If the crank spindle is between 25mm to 28.99mm, such as the SRAM® DUB® cranks, use the Park Tool RT-1.
Install the small end of the RT-1 through the bearing. Pull it slowly through the bottom bracket until you see and hear the larger expanded end click inside the bearing cup. Use a hammer to strike the end of the tool to remove the cup.
Reverse the tool and repeat removal on the second cup.
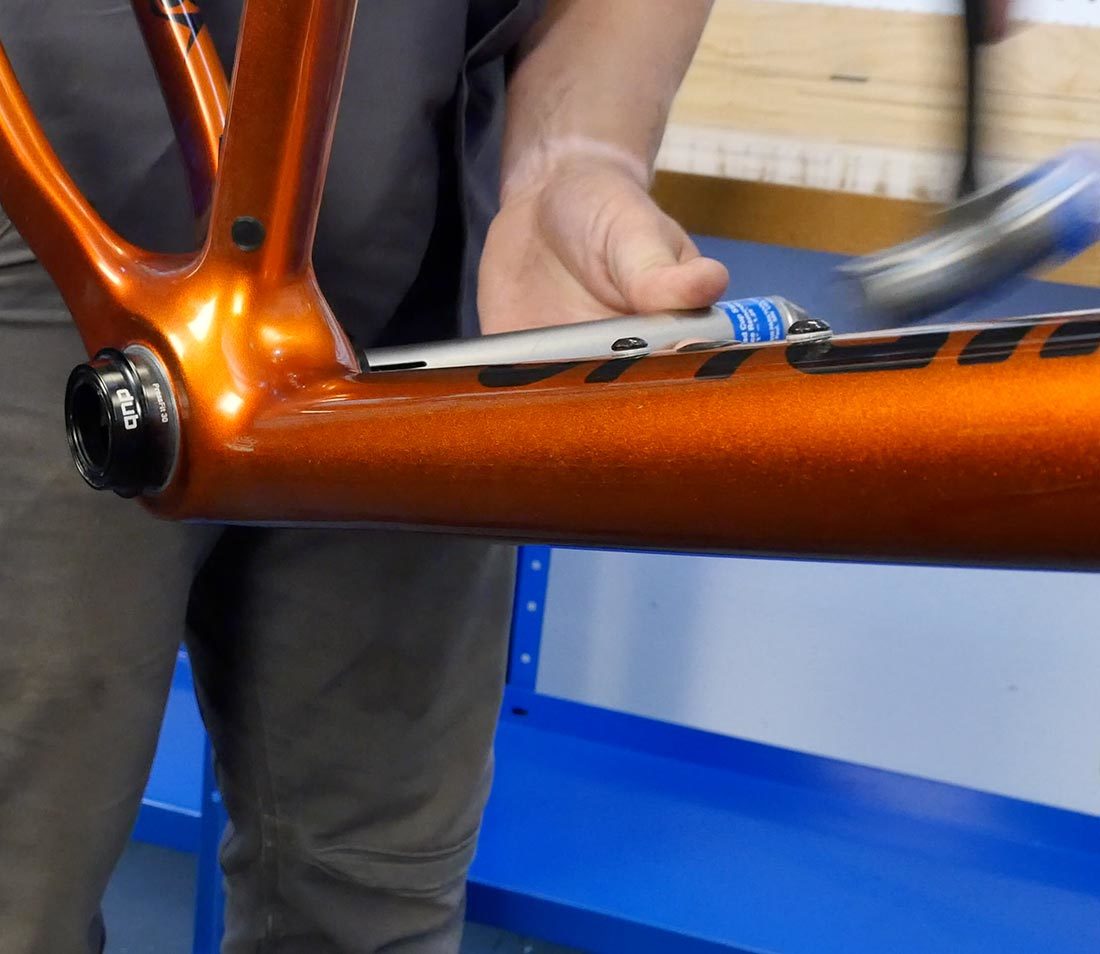
Pre-Installation Preparation
The surface preparation is an important consideration and there are several options. Surface prep can help prevent corrosion, aid in future removal, and prevent creaking during use.
Check also with the frame and component manufacturers. Some carbon fiber frame manufacturers recommend clean, dry surfaces when installing a bottom bracket.
Besides simply clean, the top options for surface preparation include grease, anti-seize, and a retaining compound.
Anti-seize such as Park Tool ASC-1 provides a more durable layer. It will be less likely to dissipate and wash away with exposure to water.
Grease makes the pressing easier. It also provides a layer to help prevent corrosion. It will be durable to some degree.
Retaining compounds, such as Park Tool RC-1, are a type of adhesive that hardens and expands once applied, creating a barrier and filling any gaps while providing pressure. Retaining compounds are good at preventing creaking. However it may take more effort to remove, such as mild heat from a hair dryer.
Installation
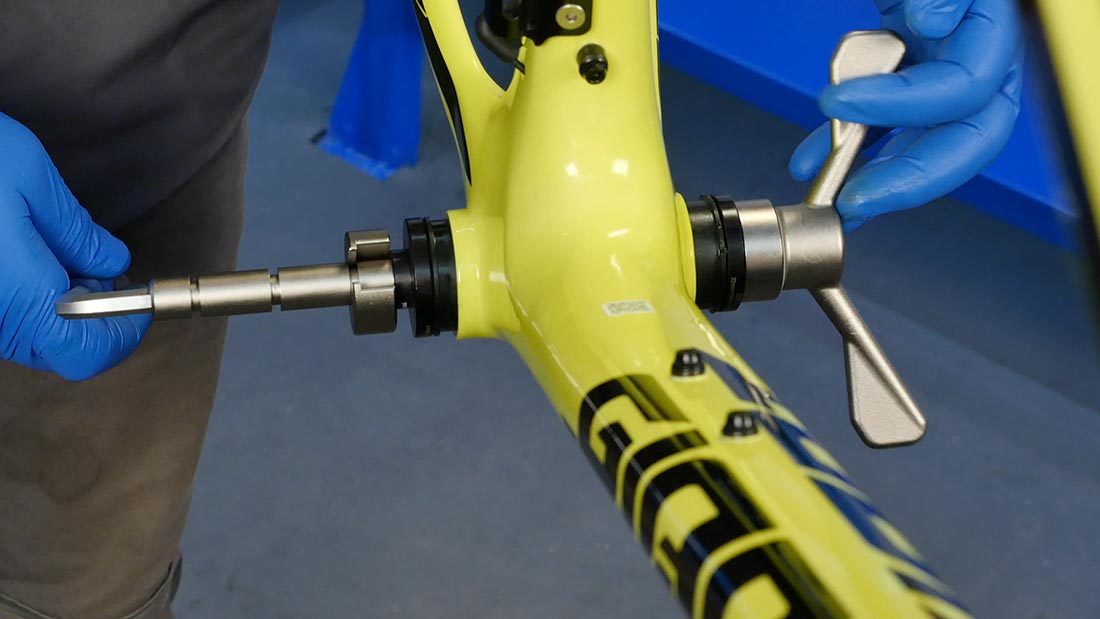
Installation of a press fit bottom bracket is similar to a pressed headset. There are a few tool options and all require a press of some sort. For example, use the Park Tool HHP-2, HHP-3, or the BBP-1.2
If pressing drifts are available, use them. The BBT-30.4 includes drifts for the PF46 and PF42 systems. The BBT-90.3 includes drifts for the PF41 system.
The BBP-1.2 includes drifts for most all standards. If no drifts are available, press only one cup at a time using the flat plates of the pressing tool.
The cranks can now be installed.
Related articles
Bottom Bracket Standards and Terminology View Article